Ear care is one of the most overlooked aspects of routine dog grooming, and it is also one of the most clinically important. Ear infections — technically called otitis externa — are among the top five reasons dogs visit veterinary clinics, and the vast majority are preventable with regular, correct ear maintenance at home. Dogs cannot clean their own ear canals, and the anatomy of a dog’s ear — an L-shaped canal that traps moisture, wax, and debris — makes regular cleaning essential for maintaining ear health. Once you learn the correct technique and have the right supplies, the entire process takes less than five minutes and can save your dog significant discomfort and you significant veterinary expense.
Dog Ear Anatomy: Why It Matters for Cleaning
Understanding the basic anatomy of a dog’s ear helps you clean effectively and safely. Unlike the relatively straight human ear canal, a dog’s ear canal has an L-shaped structure — it runs vertically downward from the ear opening and then makes a sharp horizontal turn toward the eardrum. This anatomy is effective at protecting the delicate eardrum but creates a chamber where debris, wax, moisture, and microorganisms can accumulate without any natural self-cleaning mechanism. Floppy-eared breeds (Cocker Spaniels, Basset Hounds, Beagles) are particularly prone to ear problems because their ear flap covers the canal opening, reducing airflow and creating a warm, moist environment ideal for bacterial and yeast overgrowth.
What You Need Before You Start
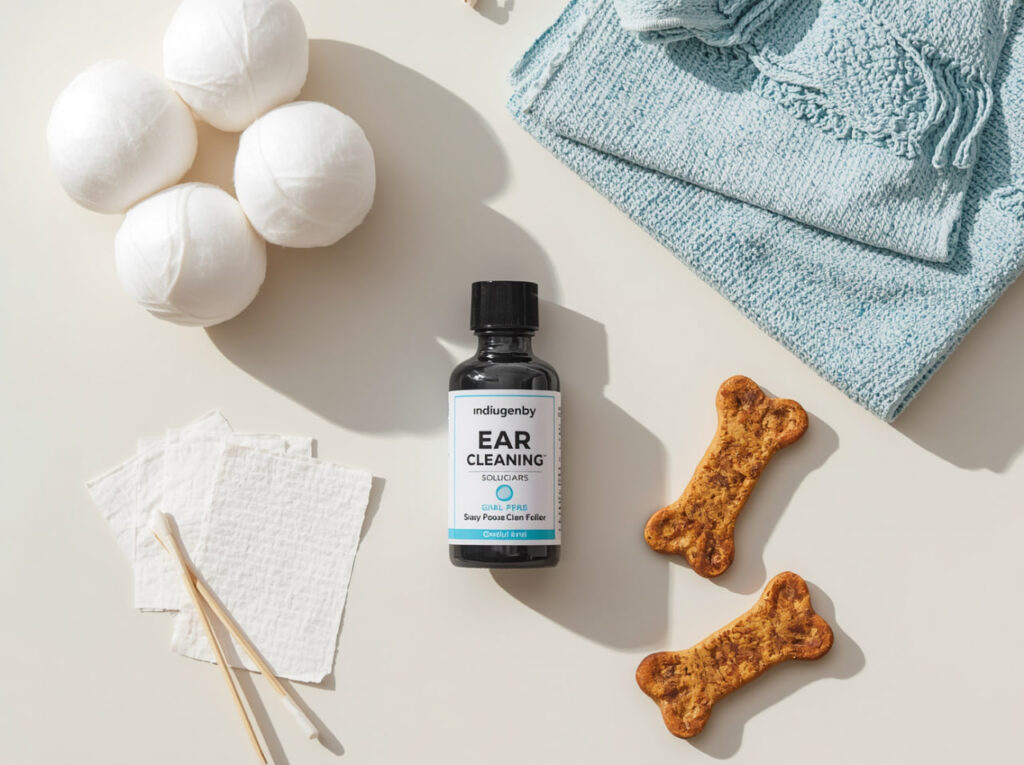
- Veterinarian-approved ear cleaning solution: this is the most important item on the list. Use only a product specifically formulated for dog ears. Do NOT use hydrogen peroxide (damages delicate tissue), rubbing alcohol (extremely irritating and painful), water alone (promotes bacterial growth by adding moisture), or home remedies like vinegar or olive oil unless specifically directed by your vet.
- Cotton balls or medical gauze pads: for wiping the outer canal after the solution has done its work. Always use cotton balls — never cotton swabs (Q-tips). Cotton swabs compact debris deeper into the canal and risk damaging the eardrum.
- A clean towel: place under your dog and have one ready for the head-shake moment — ear cleaning solution spraying from a shaking dog is an experience best prepared for.
- High-value treats: positive reinforcement throughout the process builds trust and reduces resistance over time, making each subsequent ear cleaning easier than the last.
- Good lighting: a headlamp or bright overhead light helps you see clearly into the outer portion of the canal.
Step-by-Step Ear Cleaning Process
- Settle your dog in a comfortable position — sitting, standing, or lying down on their side. Have treats within easy reach. Reward calm behavior throughout.
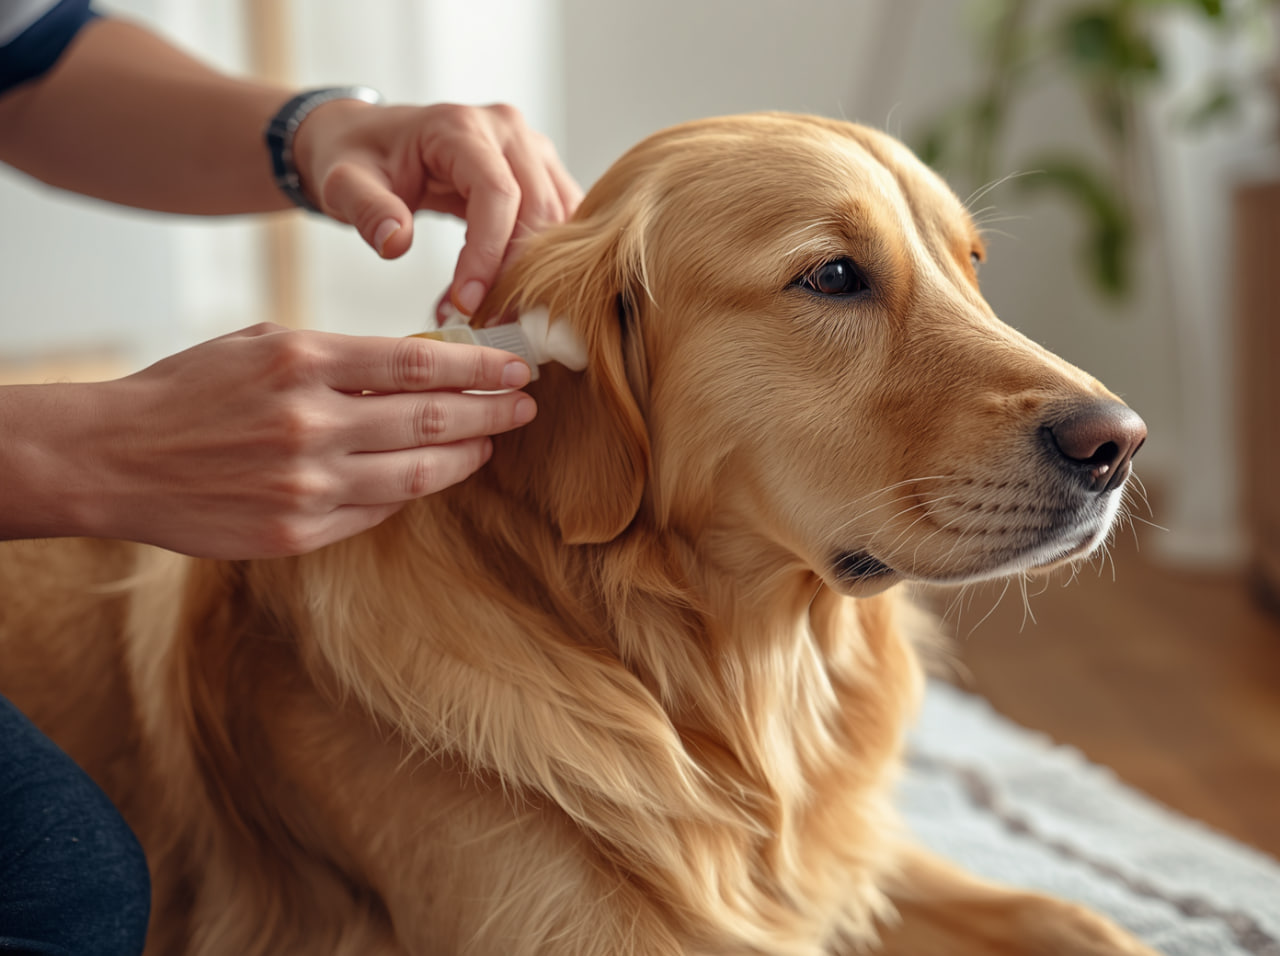
- Gently hold the ear flap (pinna) upright with one hand to expose the ear canal opening and straighten the L-shaped canal slightly.
- With your other hand, hold the ear cleaning solution bottle and apply enough solution to fill the ear canal — you will typically hear a faint squelching sound as the canal fills. Do not insert the bottle tip into the canal itself.
- While still holding the ear flap up, use your thumb and fingers to massage the base of the ear (the area just below the ear flap at the jaw line) firmly in a circular motion for 20 to 30 seconds. The squelching sound indicates the solution is moving through the canal and breaking up debris.
- Release the ear and step back. Allow your dog to shake their head — this is an important and necessary part of the process that brings loosened wax and debris up from the lower canal to the outer canal where you can reach it.
- Using a fresh cotton ball, gently wipe the visible outer portion of the ear canal. You should see wax and debris on the cotton ball. Use a fresh cotton ball for each wipe, and wipe only what you can see — never push the cotton ball further into the canal than it goes naturally with gentle contact.
- Repeat on the other ear with a fresh set of supplies.
- Reward your dog generously with treats and calm praise.
How Often Should You Clean Your Dog’s Ears?
- Most dogs: once per month as part of the regular grooming routine.
- Floppy-eared breeds (Cocker Spaniels, Basset Hounds, Beagles, Bloodhounds): every two to three weeks due to the reduced airflow beneath the ear flap.
- Dogs that swim regularly: after every swimming session, use a drying ear solution (ask your vet for a recommendation) or gently dry the outer canal with a cotton ball to remove moisture.
- Dogs with a history of recurrent ear infections: follow your veterinarian’s specific recommended schedule, which may be as frequent as weekly with a medicated solution.
Warning Signs That Require a Veterinary Visit — Not Home Cleaning
It is essential to know the difference between a routine cleaning situation and one that requires professional veterinary attention. Do not attempt to clean your dog’s ears at home if you observe any of the following:
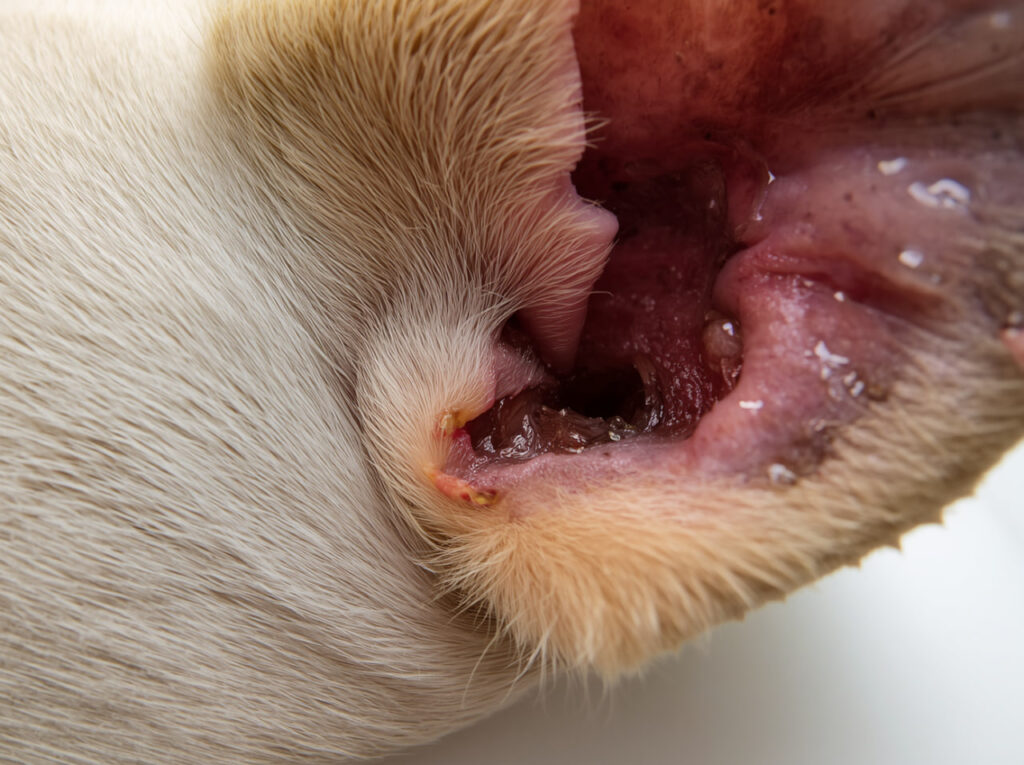
- Redness, swelling, or visible sores inside the ear canal or on the ear flap
- Dark brown or black, crumbly, coffee-ground-like discharge — this is the classic appearance of ear mites
- Yellow, green, or foul-smelling discharge — signs of active bacterial or yeast infection
- Your dog cries, pulls away sharply, or shows signs of pain when you touch the ear
- Constant head shaking, head tilting to one side, or persistent scratching at the ear
- Your dog is holding the ear in an unusual position (flattened, tucked)
- Visible swelling at the base of the ear flap (this may be an aural hematoma)
Attempting to clean an actively infected or inflamed ear with standard ear cleaning solution can be painful and may push infected material deeper into the canal. A veterinarian needs to examine the ear, take a swab for cytology to identify the type of infection, and prescribe the appropriate medicated ear drops.
Frequently Asked Questions
Can I use baby oil or olive oil to clean my dog’s ears?
No. Household oils are not formulated for the canine ear environment, can trap debris and bacteria against the skin, and may encourage the growth of Malassezia yeast (a common cause of ear infections in dogs). Always use a veterinary-formulated ear cleaning solution.
My dog hates ear cleaning. What can I do?
Desensitize gradually over several sessions: first reward your dog for allowing you to touch their ears, then for tolerating the bottle near the ear, then for accepting a few drops of solution. Build up to a full clean over multiple sessions if necessary. High-value food rewards throughout the process are essential. The process becomes easier with each successful session as the dog learns there is nothing to fear.
Can I clean my dog’s ears too often?
Yes. Over-cleaning removes the natural protective wax that lines the ear canal and can irritate the delicate skin of the canal. Stick to the recommended frequency for your breed and lifestyle, and clean only when there is visible dirt or debris present. An ear that appears clean and shows no odor or discharge does not need cleaning.
What does a healthy dog ear look like?
A healthy dog ear is pale pink in color, has no odor, and has a small amount of light-colored waxy residue. The skin is smooth with no redness, swelling, or sores. The dog shows no discomfort when the ear is gently handled.
Conclusion
Regular ear cleaning is one of the simplest and highest-impact preventive health measures you can take for your dog. Done correctly with the right products and the right technique, it takes under five minutes and can prevent the pain, discomfort, and expense of ear infections that many dogs experience repeatedly throughout their lives. Make it a monthly habit as part of your grooming routine, learn to recognize the signs that distinguish routine maintenance from a veterinary situation, and approach each cleaning session with patience and plenty of positive reinforcement.