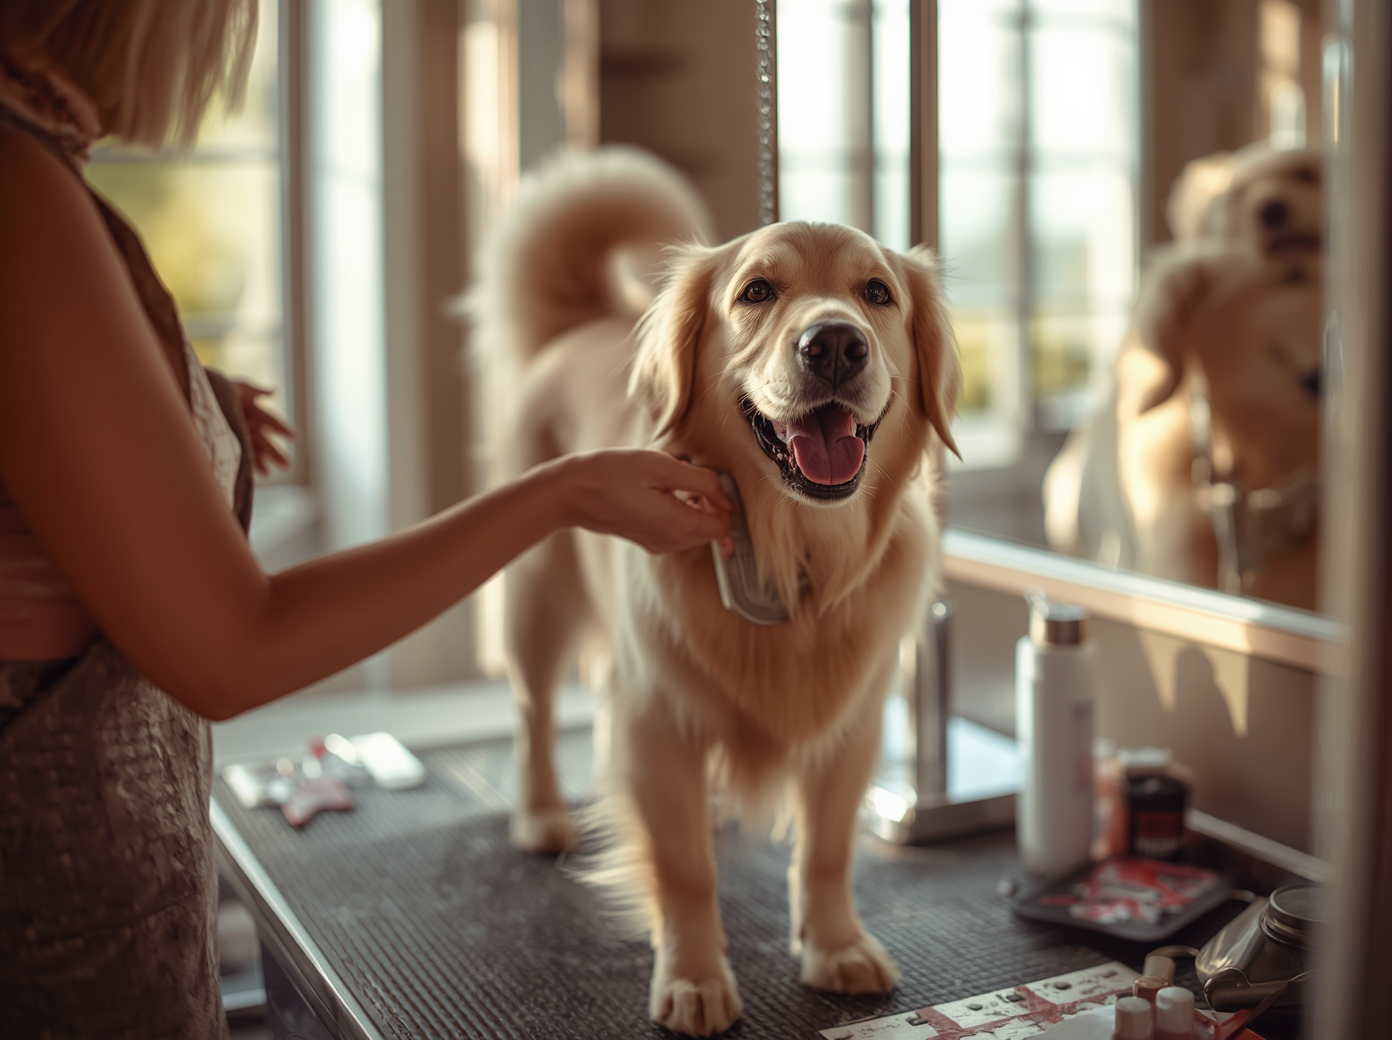
Professional grooming is a valuable service, but it is not the only option — and for many dog owners, learning to groom at home is one of the most rewarding investments they can make in their pet’s care. Home grooming offers multiple benefits beyond cost savings: it builds a trusting, comfortable relationship through regular handling, allows you to notice changes in your dog’s skin, coat, ears, and nails early, and gives your dog a calmer, more familiar environment than a busy grooming salon. This comprehensive guide walks you through every component of a complete home grooming routine, with technique guidance for different coat types and clear advice on when professional grooming remains the better choice.
Setting Up for Success: What You Need
Before your first grooming session, assemble the right tools. Using incorrect tools for your dog’s coat type produces poor results and can cause discomfort:
- Slicker brush: flat brush with fine, closely spaced wire pins — effective for most coat types for removing loose hair and minor tangles
- Undercoat rake or de-shedding tool: essential for double-coated breeds (Labs, Huskies, Golden Retrievers, German Shepherds) to remove dense undercoat
- Pin brush: wider-spaced, ball-tipped pins — gentler option for longer, silkier coats
- Fine-tooth metal comb: for checking behind ears, under armpits, and around the collar area for hidden tangles and mats
- Nail clippers (scissor or guillotine style) or a nail grinder: choose based on your dog’s nail thickness and your comfort level
- Dog-specific shampoo and conditioner: matched to your dog’s coat and skin type
- Ear cleaning solution: veterinarian-approved formula
- Dog toothbrush and enzymatic toothpaste
- Grooming table or non-slip mat: a stable, elevated surface makes grooming far easier on your back and gives the dog a defined grooming space
- Styptic powder: for stopping minor bleeding if you accidentally cut a nail too short
- High-value treats: the most important item on the list — positive reinforcement throughout every session
Step 1: Brushing — The Foundation of All Grooming
Brushing should always be the first step of any grooming session, performed before bathing. Wet mats tighten and become far harder to remove than dry ones, and brushing distributes natural oils while removing loose hair and debris. Technique and frequency by coat type:
Short, Smooth Coats (Beagles, Boxers, Dalmatians)
Weekly brushing with a rubber de-shedding glove or a soft bristle brush. Work in the direction of hair growth using short, firm strokes. These coats require minimal brushing time — 5 minutes covers the entire body. Focus on areas where dirt accumulates: around the collar, in the groin area, and behind the ears.
Medium Double Coats (Labrador Retrievers, Golden Retrievers)
Two to three times per week with a slicker brush followed by an undercoat rake during shedding seasons. Work in sections, parting the coat to reach the undercoat. Pay special attention to behind the ears, under the armpits, and around the collar — areas most prone to matting. During seasonal coat blowouts, daily brushing significantly reduces the volume of hair distributed around your home.
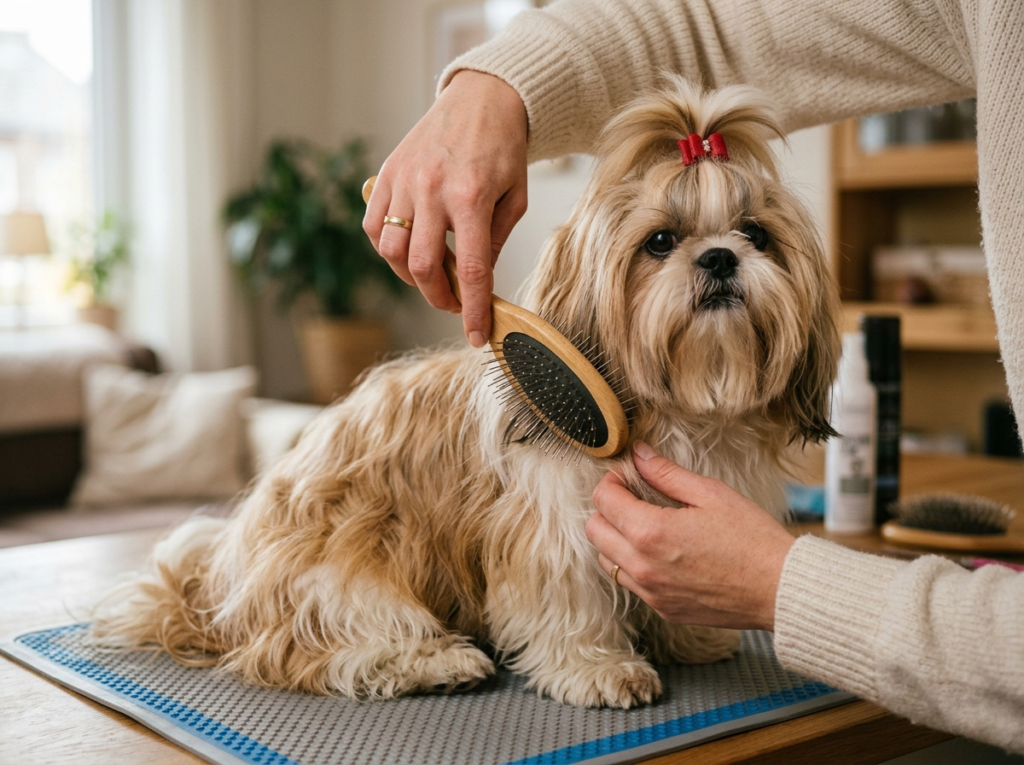
Long Coats (Shih Tzus, Yorkshire Terriers, Maltese)
Daily brushing is required to prevent mat formation. Use a pin brush for the body and a fine metal comb to check for tangles in high-friction areas: behind the ears, in the groin, under the armpits, and around the collar. Work systematically in sections, holding the hair above the section you are brushing to avoid pulling the skin. Mats that cannot be brushed out should be cut out or addressed by a professional groomer — never rip through a mat.
Step 2: Bathing — Technique That Actually Works
A properly executed bath removes surface dirt, odor-causing bacteria, and loosens dead undercoat far more effectively than dry brushing alone. The key steps:
- Brush thoroughly before getting the coat wet — this is non-negotiable for longer coats.
- Use lukewarm water throughout. Test on your inner wrist as you would a baby’s bath.
- Wet the coat completely from the neck back before applying shampoo. Use a handheld showerhead or a pitcher — never submerge the head.
- Apply shampoo and massage in circular motions working all the way through to the skin. Do not just shampoo the surface of the coat.
- Rinse very thoroughly — shampoo residue left in the coat is one of the most common causes of post-bath itching and dull coat. Rinse longer than you think necessary.
- Apply conditioner to longer coats, leave for the directed contact time, and rinse again.
- Towel dry by pressing rather than rubbing to reduce tangles. Follow with a low-heat blow dryer on most coat types, keeping the dryer moving constantly and maintaining a safe distance.
- Reward throughout and immediately after.
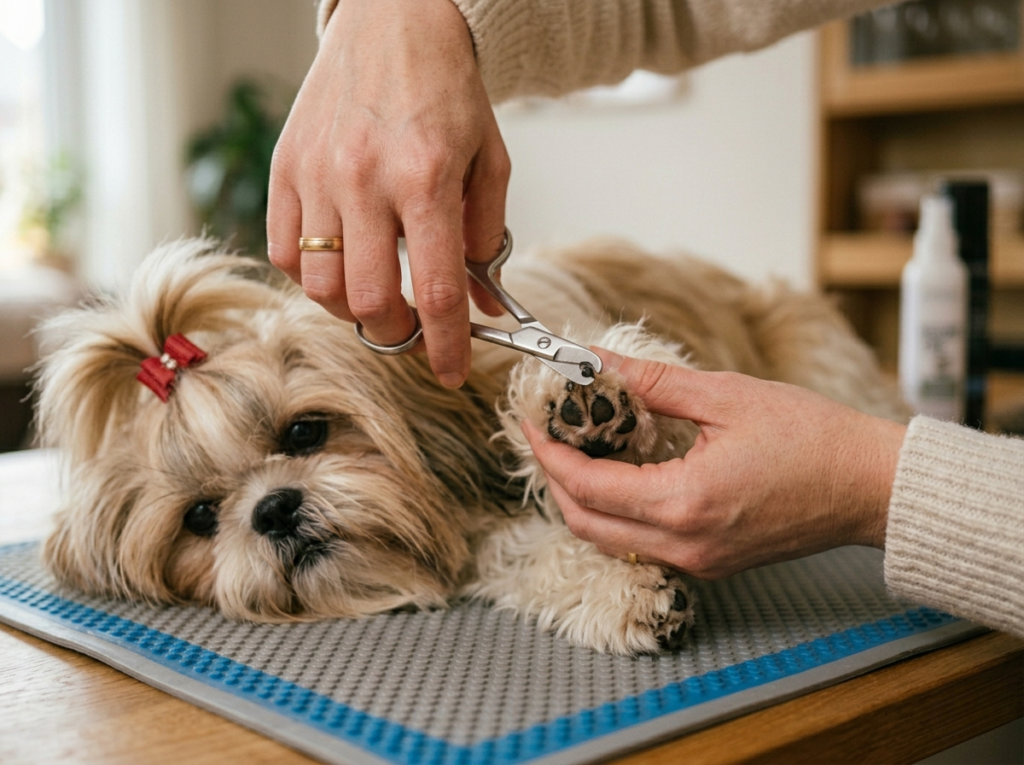
Step 3: Nail Trimming — The Task Most Owners Fear
Overgrown nails cause real problems: they alter your dog’s gait, put stress on joints, and can curl and grow into the paw pad if neglected. Most dogs need nail trimming every three to four weeks. The fear around nail trimming typically stems from the risk of cutting the quick — the blood vessel and nerve running through the nail — which causes brief pain and bleeding. Avoiding this is straightforward with the right approach:
- Identify the quick: in light-colored nails, the quick is visible as a pink area within the nail — trim only the white, hooked tip beyond the pink. In dark nails, trim very small amounts (1 to 2 mm) at a time and look at the cut surface — the nail is safe to cut while the center is white and chalky; stop when a dark dot appears in the center (approaching the quick).
- Use sharp clippers: dull clippers crush rather than cut the nail, which is painful. Replace clippers annually.
- Angle the cut: trim at approximately a 45-degree angle, following the natural curve of the nail.
- Have styptic powder ready: if you do accidentally cut the quick, apply styptic powder directly to the nail tip with firm pressure for 30 seconds. The bleeding stops quickly and the dog typically recovers immediately.
- Desensitize gradually if your dog resists: touch paws daily, introduce the clippers near the paw before attempting trimming, and reward generously at every step.
Step 4: Ear Cleaning
Monthly ear cleaning prevents wax and debris accumulation that leads to infection. Apply a veterinarian-approved ear cleaning solution to fill the canal, massage the base of the ear for 20 to 30 seconds, allow the dog to shake, then gently wipe the outer canal with a cotton ball. Never use cotton swabs inside the canal. See your veterinarian if you notice odor, discharge, redness, or your dog is scratching at their ears — these indicate infection, not a cleaning situation.
Step 5: Teeth Brushing
Daily teeth brushing with enzymatic cat or dog toothpaste (never human toothpaste — fluoride is harmful) is the single most effective home dental care measure. Use a soft-bristled pet toothbrush or finger brush and focus on the outer surfaces of the upper teeth where tartar accumulates most rapidly. Even 30 seconds of daily brushing provides significant benefit over no brushing.
When to See a Professional Groomer
- Your dog’s coat requires breed-specific cutting or styling (Poodles, Schnauzers, Cocker Spaniels, Bichon Frises)
- Your dog has developed mats that cannot be safely brushed out at home
- Your dog’s anxiety or resistance makes home grooming unsafe or ineffective
- You need a full coat clip or shape during summer or for hygiene reasons
- You want professional-level finishing for a specific occasion
Frequently Asked Questions
How often should I groom my dog at home?
Brushing frequency depends on coat type — from twice weekly for short coats to daily for long coats. Bathing every 4 to 6 weeks suits most dogs. Nail trimming every 3 to 4 weeks, ear cleaning monthly, and teeth brushing daily.
My dog hates being groomed. What should I do?
Desensitize gradually using short, positive sessions with high-value treats at every step. Never force the dog to endure a full grooming session when they are distressed — this creates lasting negative associations. Build tolerance over weeks of brief, rewarding interactions with each grooming activity separately.
Can I use human shampoo on my dog in an emergency?
Baby shampoo is the safest emergency substitute — it is much gentler than adult human shampoo. Human shampoo has a different pH to dog shampoo and regular use disrupts the skin’s protective barrier. Use dog-specific shampoo as the standard.
Is it worth buying a high-velocity dryer for home grooming?
For double-coated breeds that shed heavily, a high-velocity dryer pays for itself quickly by dramatically reducing shedding and grooming time. For single-coated or short-haired breeds, a standard low-heat blow dryer is sufficient.
Conclusion
Home grooming is a skill that builds over time — the first few sessions will feel slow and uncertain, and that is completely normal. Invest in quality tools, keep sessions short and positive especially in the beginning, reward generously throughout, and build each task into a predictable routine. Most dogs who are introduced to grooming gradually and positively come to tolerate and even enjoy the handling. The relationship built through regular, gentle grooming is one of the most intimate and trusting aspects of living with a dog.